I've tried staying away from getting into anymore crafting projects that would require that I purchase all new supplies (because I can't purchase just a few) in view of the fact that I have a boat load of crafting supplies in my craft room already. (insert BUT HERE) ~ the true craft junkie comes out in me when my sister talked me into making her one of these Deco Mesh wreaths for her home that I will show another time. Deco Mesh has been around for a little time but appears to be the rage in crafting decor right now…..(insert sigh) Yes, I caught the bug and had to make one for me too. In Spring and Easter colors of course.
I hope you like it as much as I do.
….and I have a SURPRISE for you all -- yes, video with picture tutorial. I know I've been slacking in the video tutorials lately -- but please know that I have not given them up….stay tuned.
I {love} Spring -- everything is blooming and looks so pretty.
I shared my Summer, Fall and Christmas decor with you last year so I wanted to share my Spring Wagon with you this season. I don't have a big porch to decorate but I do appreciate the space I do have and try to decorate it for each season.
I purchased the wagon at Hobby Lobby.
I absolutely love it because it has different levels and heights to decorate and put my watering can, flowers, birdhouses, and other greenery that I want to stick in there. I am a "builder" decorator (if that makes sense). I usually start with one thing and then build from there sticking, raising and covering as I go until I get the look I want.
As you will notice in the picture I decorate with silks.....I'm ashamed to admit that I have a BROWN thumb -- and sadly I kill all of my live plants so.... silk is the perfect color decor for me.
I love shopping Hobby Lobby's 50 % off sale and also hit the Dollar Stores as I can find some neat bright little bushes as well as odd and end greenery :)
Hi everyone -- I hope you are enjoying your week-end….
I wanted to share my 10 minute Spring Arrangement that I made for myself -- yes, it only took me about 10 minutes to do (once I gathered my supplies)…
Here is what I did -- and you can too!
These are the supplies I used:
glass vase
glass beads (floral section)
bushes of silk flowers in spring colors
(Joanne's had a great sale on silks this week)
============================
I started with….a large mouth glass vase
then I filled vase 3/4 full of glass beads
A few tips on flower choices:
When I pick out bushes of flowers for arrangements I most always go with a color family, as you can see here in the picture….I look for flowers that have the same coordinating colors, or blending colors. For instance I knew I wanted pink as my main color in this arrangement so I chose flowers that had lots of shades of pink, mixing in lighter and darker tones. I also look for a bush that has the color I am blending in as well as texture to it (not all the same design, kind of flower or dimension). You will be amazed at the beautiful arrangements you can create by matching and mixing tones, textures and coordinating colors.
Start with one bush of flowers right in the center -- yes just pushing it right on down there in the center of those beads
As you begin to add and build your arrangement…. add the next few bushes and begin to pull and shape the branches (some up and some down over side) - silks are very forgiving….
Continue to add your bushes, pulling, shaping and form until you get the appearance you like. Sometimes it takes just a little "tweaking" here and there to get the look you want. If you have a "hole" -- fill it in with greenery, ivy, or another flower bush. The possibilities are endless!
A few more tips…..
I almost never cut apart my flower bushes when arranging ….I simply stick them in and shape them where I want them to be. The glass beads work great!
I browse around for about 4 or 5 different flower bushes that I want to arrange together.
I almost always purchase 2 of the same bush that way my arrangement is more full.
I always look for sales -- silk flowers can be very expensive. Check the craft stores for sales.
I love to change from year to year so when I am tired of looking at this arrangement I will pull it apart, using the flowers in another project, the glass beads go back with the others I'm not using and my vase gets put up for another day! It works for me!
If you like my floral idea -- feel free to pin it!
I'd love to hear your floral decor tips and helpful hints too!
Hi everyone and Welcome to another Crafty Designers Design Team post showing you projects from my wonderful Design Team. Amber, Cheryl, Katie and I have created projects for your Easter inspiration.
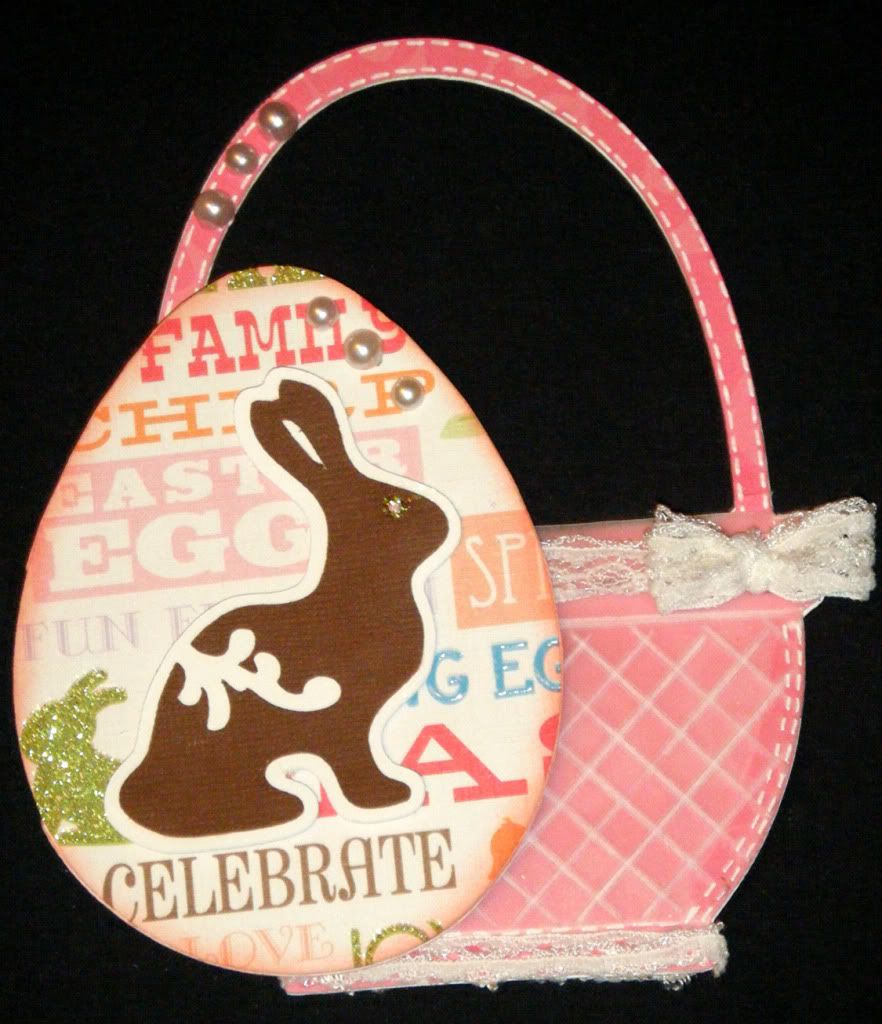
I've given them the assignment of creating a project that is "Eggs-stra" special and it should incorporate an "egg" on it. As you can see below they did not disappoint me one bit (they never do!) -- So click on their names above the project to follow the link to their blogs that will give you more information and more pictures.
Here is my project -- I just LOVE how it turned out.
Card measures 6" Face stamps - PeachyKeenStamps.com Eggs - Easter 2010 Seasonal Cricut cartridge Grass was made using Fringe scissors by Martha Stewart Miscellaneous: ribbon roses purple & yellow ric rack Galaxy white marker ribbon designer paper - craft store
Isn't she adorable? :)
Each "egg" represents one of my family ~ love my PeachyKeenStamp faces for added character!
Long live ribbon roses and ric rack!
Now for my Crafty Designers.....click on her name to hop over to her blog for more pictures, supplies and "how to's" for their projects. Thanks ladies!
Welcome to CJToo's Crafty Designers - Design Team Day! It's all about Easter projects today and I'm so excited to show you what me and my Crafty Designers came up with.
Let's. get. started.
Click on their names to go to their blogs for more pictures and information on their FABULOUS projects!.
For my project I decided to do some super simple tags that can be used for gifts, treats, bags, snacks, etc. I even did a video for your guys....YAY! I hope you enjoy it. :)
Cardstock ~ Papertrey Ink
Happy Easter Stamp ~ Michael's
Easter Egg Stamps ~ Studio G
Markers for coloring ~ Copics brown chalk ink for shading around card Wild Wasabi ~ Stampin' Up
Jute
************* More good stuff! :) Friday 3/25 ~ T.G.I.F. Linky Party Facebook Fan Page
Hi everyone and welcome. Today you are in for a very special treat....it's Crafty Designers Design Team Post day and it is all about Spring projects today. :)
Each Design Team post I will offer up a guest designer spot for next time (which will be Wednesday March 30th) See below for details.
........
My wonderful guest designer today is Ms. Roberta from.....TX Scrapper Mom.
#460 Happy Lashes by Peachy Keen Stamps for sun face
Here is my YouTube video showing you a little closer look as well as how I made the yellow shading/bubble around the Happy Spring and how I used my white markers to add highlights and doodling to the grass.
*****If you'd like to be a guest designer for my next CJToo Crafty Designers post which is March 30th -- link up a SPRING project below. Please link directly to the project so we can leave you some bloggy love.
I'll randomly pick someone to join me, Amber, Cheryl and Katie next time. Good Luck! :)
Thanks for visiting and now it's time to hop over to my amazingly talented friend....the Gypsy Queen - Ms. Emma Woot! Woot! I know she has something amazing to share.








)
